How to Condition Your Dog to a Marker
Markers are excellent tools in dog training. They are regularly used in conformation and trick training. They are helpful in the early phases of puppyhood to help capture behavior. I used a marker in the beginning to quickly teach Ezra his name, and I’m using it now to help quickly learn new dog tricks.
If you are looking for ways to train your dog that are easy to implement, you should consider conditioning your dog to a marker. I will show you how in this post.
What is a marker in dog training?
A marker is a word or sound that communicates to the dog that he displayed good or bad behavior. A positive marker captures good behavior, while a negative marker signals bad behavior. Most common examples of positive markers are:
- Yes!
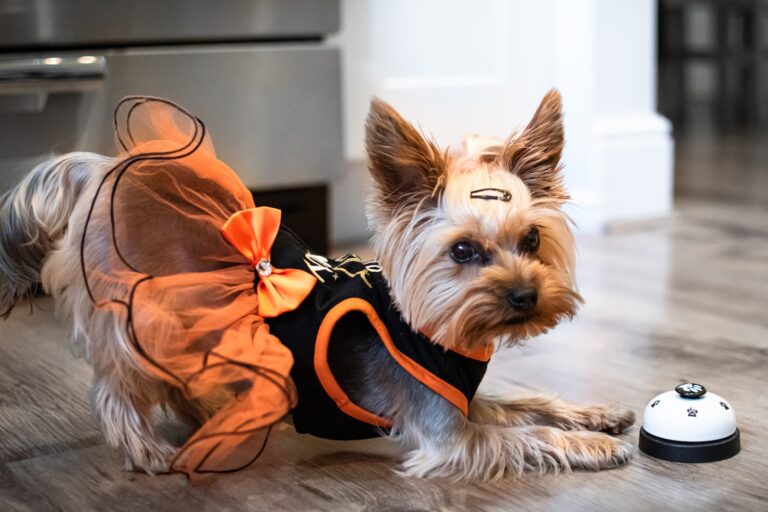
- Clicker
- Good Boy/Girl
You can use any other positive words that work best for you. The word itself doesn’t matter as much as using any marker with consistency; however, trainers generally recommend using the clicker over verbal markers. You can click it far faster than saying anything. That’s important, because in order to communicate that the specific behavior was good, you need to move fast. Especially in the beginning, speed matters.
Most common examples of negative markers are:
- Puppy Corrector Spray
- Spray water on your dog
- Shaking coins in a jar
- No!
- Eh Eh
- Off
I generally rely on verbal cues (No, eh eh, off) first. If those aren’t working, then I’ll break out something like corrector spray to reinforce the verbal cue.
How does positive marker training work?
The first steps to marker training is to food lure your dog to shape his behaviors correctly. As your dog is making progress, you mark the good behavior with the marker, and pay the dog with a treat. This signals to the dog that they are doing a good job and to continue repeating that behavior for rewards. You generally do not add the verbal command until the dog is able to consistently repeat the full behavior.
The downside to marker training is that if you ever accidentally use the positive marker cue, you are obligated to pay your dog a treat. That’s necessary to ensure it’s a useful tool in training.
But before you actually marker train your dog, you need to condition him to the marker. Don’t worry, it’s really easy to do.
How does negative marker training work?
Negative marker training isn’t really training. It’s more communicating with your dog and ensuring he listens when you tell him to stop. Your dog should know a couple main commands that are used as negative markers: No and Off. There are other verbal markers you can say that are sounds and not words. I recommend trying a verbal marker first. If the verbal marker doesn’t work, then use corrector spray. Over time, your dog will listen to No/Off the first time.
With respect to negative markers, you don’t generally condition your dog to them because they are usually said in a negative tone or are scary sounds/experiences. If the nonverbal cue isn’t scary for your dog, then you should find another one.
3 Fool Proof Steps to Marker Condition Your Dog
These steps are going to be focused on conditioning your dog to a positive marker. All you need for this is a treat, your chosen marker, and a skill you want to begin training.

Step 1: Pick your marker.
Some people prefer using clicker training, because you can click faster than speak. Timing is everything in the beginning of training, especially with young puppies that are constantly moving and distracted. You want to mark the desired behavior immediately so they associate the behavior with it. But you have to use whatever works best for you. I use “yes!” as a marker instead of a clicker because I regularly forget to bring the clicker with me when we train. Select a marker that you can use consistently. The moment you break the consistency, you risk losing the marker as a training tool.
Step 2: Mark and pay
Once you select your marker, you literally just use the marker and pay the dog. When I conditioned Ezra to “yes!” I followed these exact steps:
- Say the word “yes!“
- I paid him with a treat.
- Repeat.
In the beginning, I paid him even if he wasn’t looking at me. But after about five repetitions, he would start looking at me expectantly. When your dog hears the marker and immediately looks at you, he’s conditioned enough to begin training.
Step 3: Start training!
Once your dog is conditioned, you can begin using it in training new skills. You can marker train any skill that requires luring. When you are just beginning to train with a marker, I recommend starting with dog tricks. Dog tricks are generally pretty easy to train so it’s easy to practice. Plus, if you make a mistake, it’s not such a big deal. It’s just a trick so it’s just for fun and not a critical skill.
Here are the easiest tricks you can get started on:
- Train your dog to touch.
- Train your dog to spin.
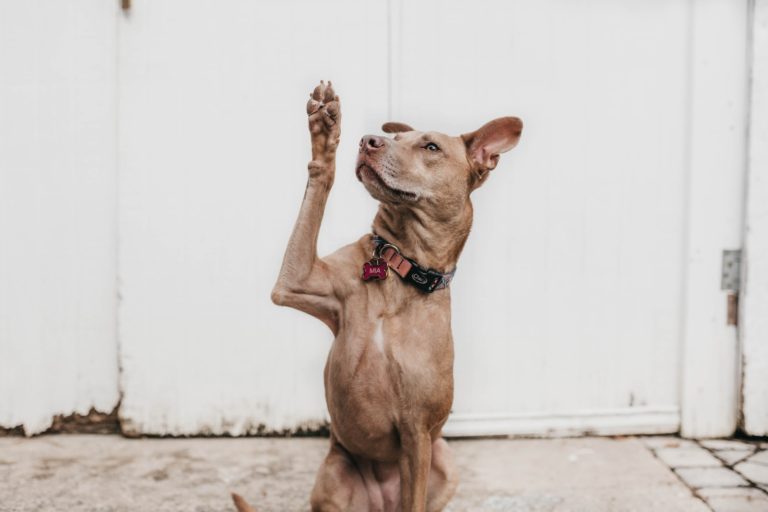
- Train your dog to high five.
- Train your dog to shake.

Conclusion
Markers are great tools to use in conjunction with food luring. Before you can get started with marker training, you have to condition your dog to the marker. It’s really simple to do. All you have to do is:
- Select a marker.
- Use the marker.
- Pay the dog.
- Repeat.
Do you marker train? What will be your marker? Let me know in the comments!


2 Comments
Comments are closed.